

Room Guides
Hallway Ideas: Verified Spatial Dimensions for 2026
Hallway ideas require 36 inches of clear walking width and 100 to 150 lux. Learn exact clearance math, runner margins, and shallow storage sizing.
9 min read
How to design a room like an interior designer, in the right order, with the 13 measurements pros work to and what each step costs if you hire it.

Most homeowners approach room design entirely backwards. They start with the most emotional, low-stakes decisions: picking a trending paint swatch at the home improvement store, ordering an accent chair on flash sale, or collecting decorative ceramic vases. Six months later, they find themselves living in a disjointed room with cramped 20-inch walkways, an undersized "postage-stamp" rug floating adrift, glare-heavy lighting, and wall paint that subtly clashes with their $3,000 sofa.
Interior designers do not design rooms by intuitive shopping trips. Professional interior architecture is an ergonomic, spatial, and mathematical discipline. Long before a fabric swatch is approved or a paint can is opened, professional designers work through a rigorous order of operations anchored to 13 non-negotiable spatial measurements.
Whether you are designing a room yourself or managing professional contractors, here is the exact step-by-step master blueprint, the 13 numbers that govern professional room layouts, and a realistic cost breakdown of what each trade charges if you hire it out.
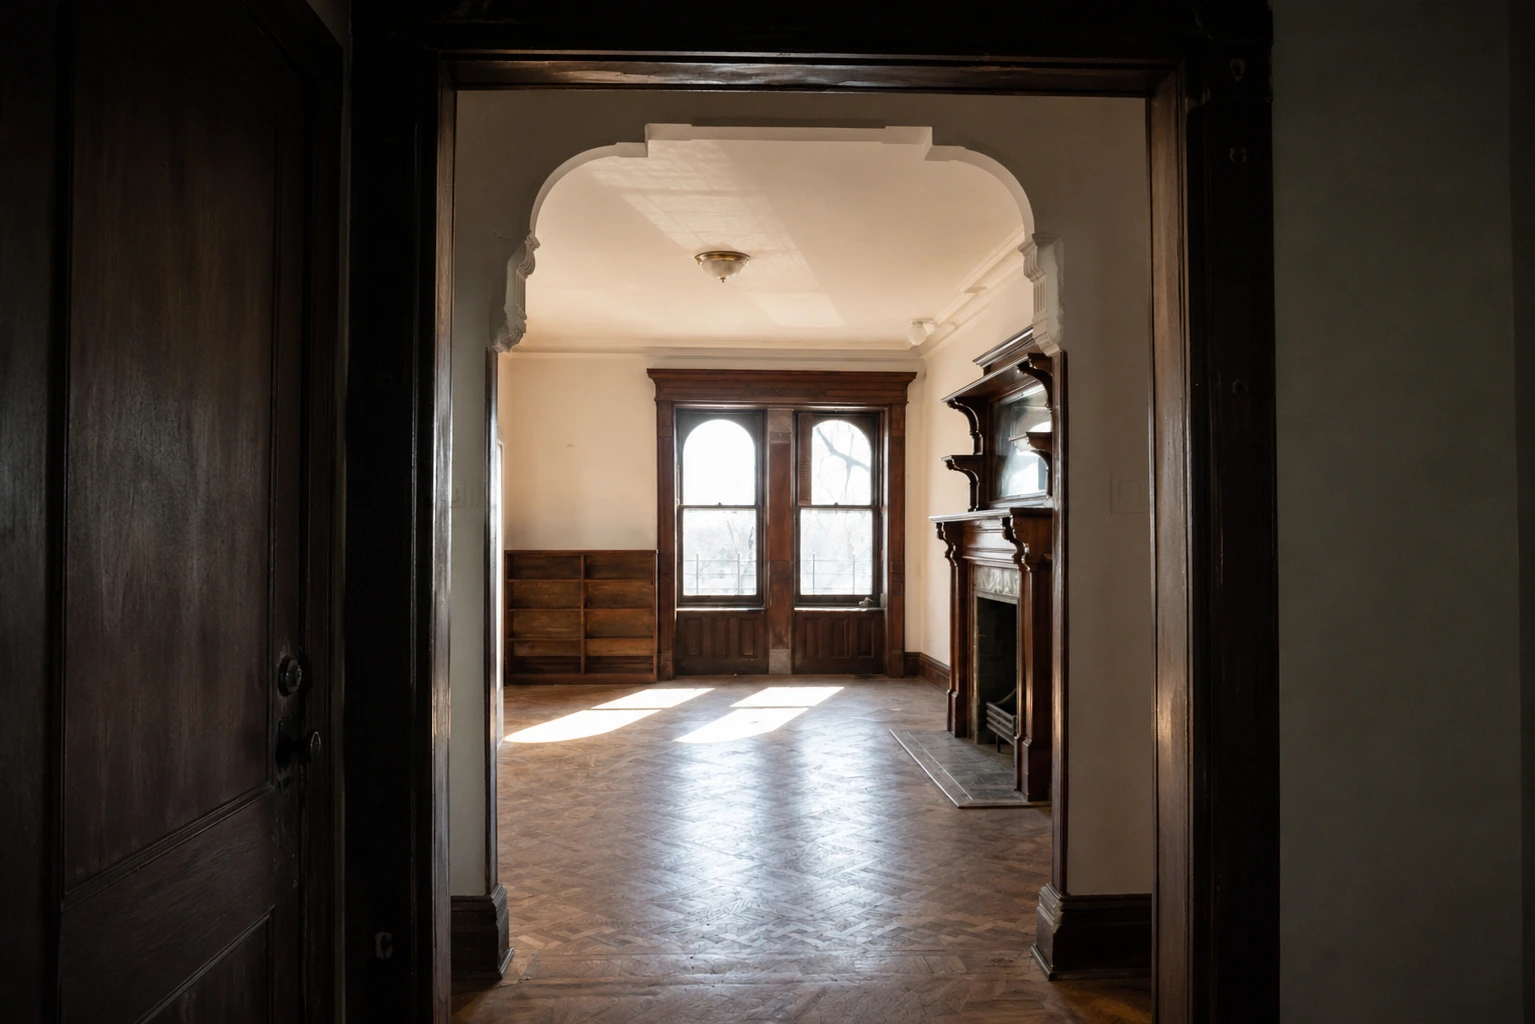
The single biggest difference between amateur decorating and professional interior design is sequencing. When you do steps out of order, every subsequent decision becomes an expensive compromise.
Professional Spatial Design Sequencing:
Phase 1: Programming & Spatial Math → Measure Room, Map Architectural Focal Point & Invariant Egress
Phase 2: Anchor Furnishings & Footprint → Determine Sofa/Bed Sizing & Rug Scale (Front-Leg Rule)
Phase 3: Photometric Architecture → Rough-in Hardwired Sconces, Ceiling Drops, 2700K 3-Tier Layering
Phase 4: Vertical Enclosure → Window Treatments (Rod Height/Stackback) & Wall Art Centerlines
Phase 5: Chromatic Envelope → Test Paint Swatches Against Fixed Textiles (Never First!)
Phase 6: Tactile Styling & Layering → Books, Accent Ceramics, Living Flora, Acoustic Soft Goods
The most catastrophic error in residential design is painting the walls before sourcing the furniture.
If you paint your room a lovely warm sage first, you will spend months fruitlessly hunting for a sofa fabric whose undertones do not clash with that specific wall pigment. If you purchase your anchor sofa and hand-knotted rug first, a designer can easily pull the third most prominent neutral undertone from the rug weave and match it to an exact paint swatch in ten minutes.
Spatial harmony is not subjective; it is the physical sensation of your body moving effortlessly through a room without squeezing past furniture edges, squinting under overhead downlights, or craning your neck to view artwork.
Here are the 13 core measurements that professional interior designers use on every project.
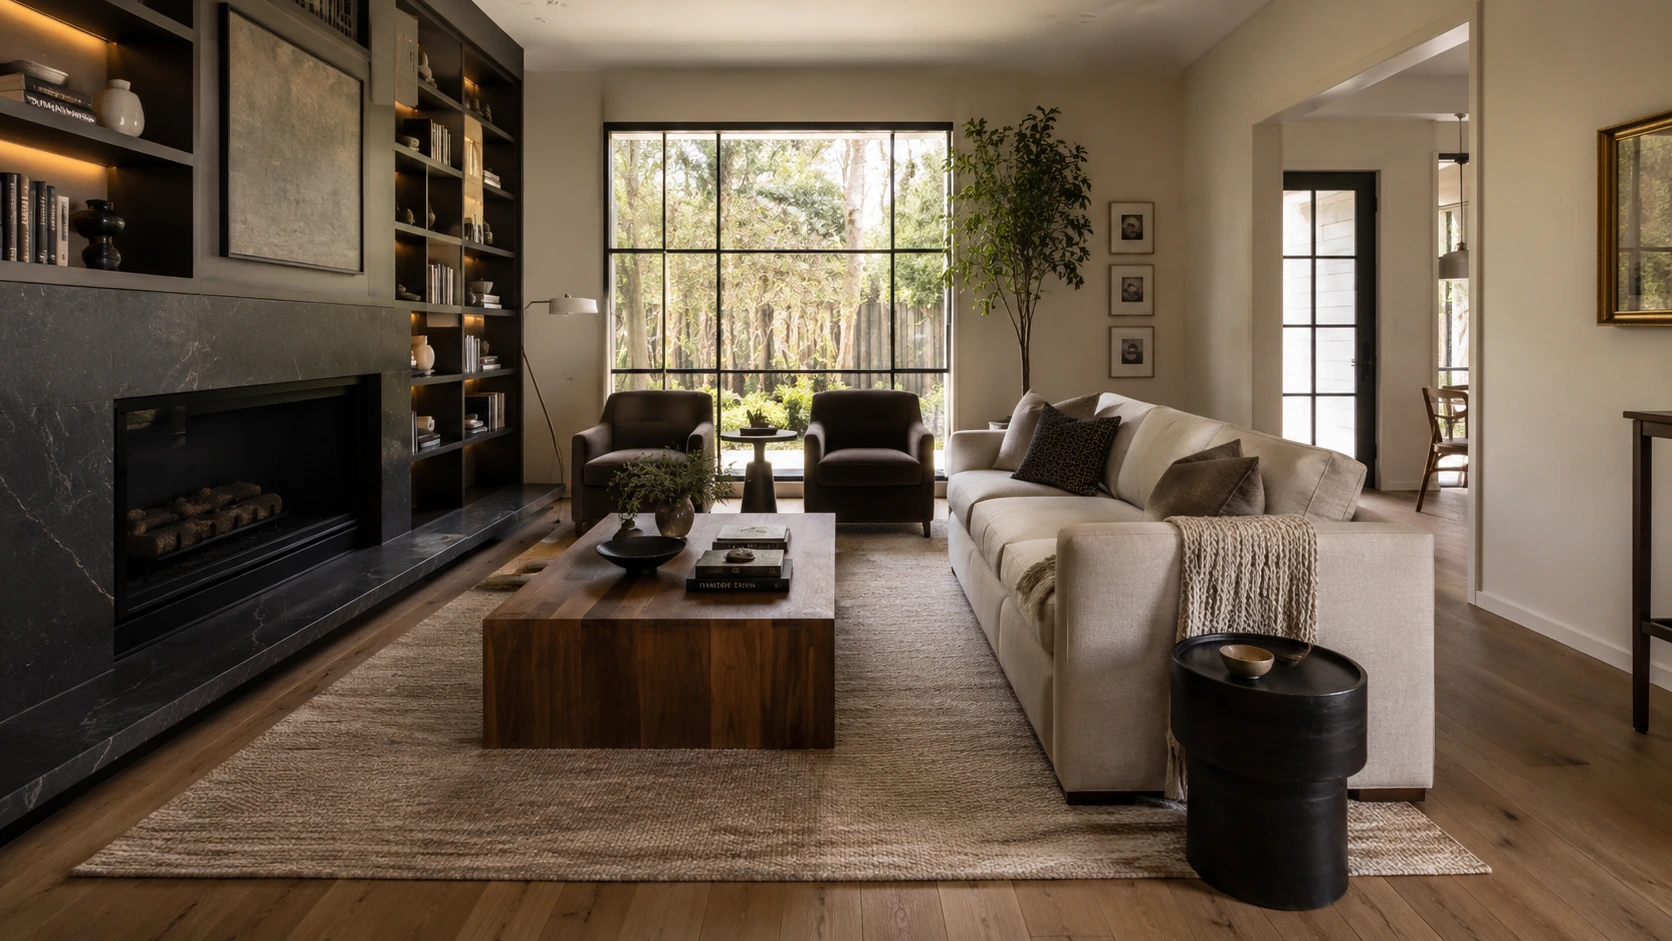
The primary circulation path through any room—from doorway to seating area, or between kitchen island and living room—must maintain a minimum of 36 inches (91 cm) of unobstructed floor clearance. In high-traffic zones or multi-occupant homes, 42 inches (107 cm) is the standard. This adheres to International Residential Code (IRC) egress safety standards and ensures two people can pass each other comfortably without turning sideways.
The gap between the front edge of the sofa seat cushion and the nearest edge of the coffee table should be strictly 14 to 18 inches (35 to 45 cm).
An end table or side table should sit level with, or no more than 1 to 2 inches below, the top of the adjacent sofa or armchair armrest. If your sofa arm is 24 inches high, target a side table measuring 22 to 24 inches high. A side table that sits 6 inches lower or higher than the sofa arm creates an awkward reach and causes spills.
The top surface of your coffee table should sit 1 to 2 inches lower than the crown of the sofa seat cushions (typically 16 to 18 inches above finished floor). Coffee tables taller than the sofa seat create visual clutter and disrupt sightlines across the room.
An area rug anchors a conversation zone into a cohesive island.
Standard Rug Sizing Matrix by Room Scale:
• Compact Living Room (10' x 12'): Specify 8' x 10' (Front legs on rug)
• Medium Living Room (12' x 16'): Specify 9' x 12' (All front legs or entire sofa on rug)
• Expansive Great Room (15' x 20'+): Specify 10' x 14' or 12' x 15' (All seating fully enclosed)
To allow dinner guests to pull out chairs and stand comfortably, maintain 36 inches (91 cm) of clearance from the edge of the dining table to the nearest wall or sideboard. If you want people to walk behind seated guests without causing disruption during a meal, expand this clearance to 42 to 48 inches (107 to 122 cm).
For a standard 8-foot ceiling, the lowest point of a dining room chandelier or pendant fixture should hang 30 to 36 inches (76 to 91 cm) above the top surface of the dining table.
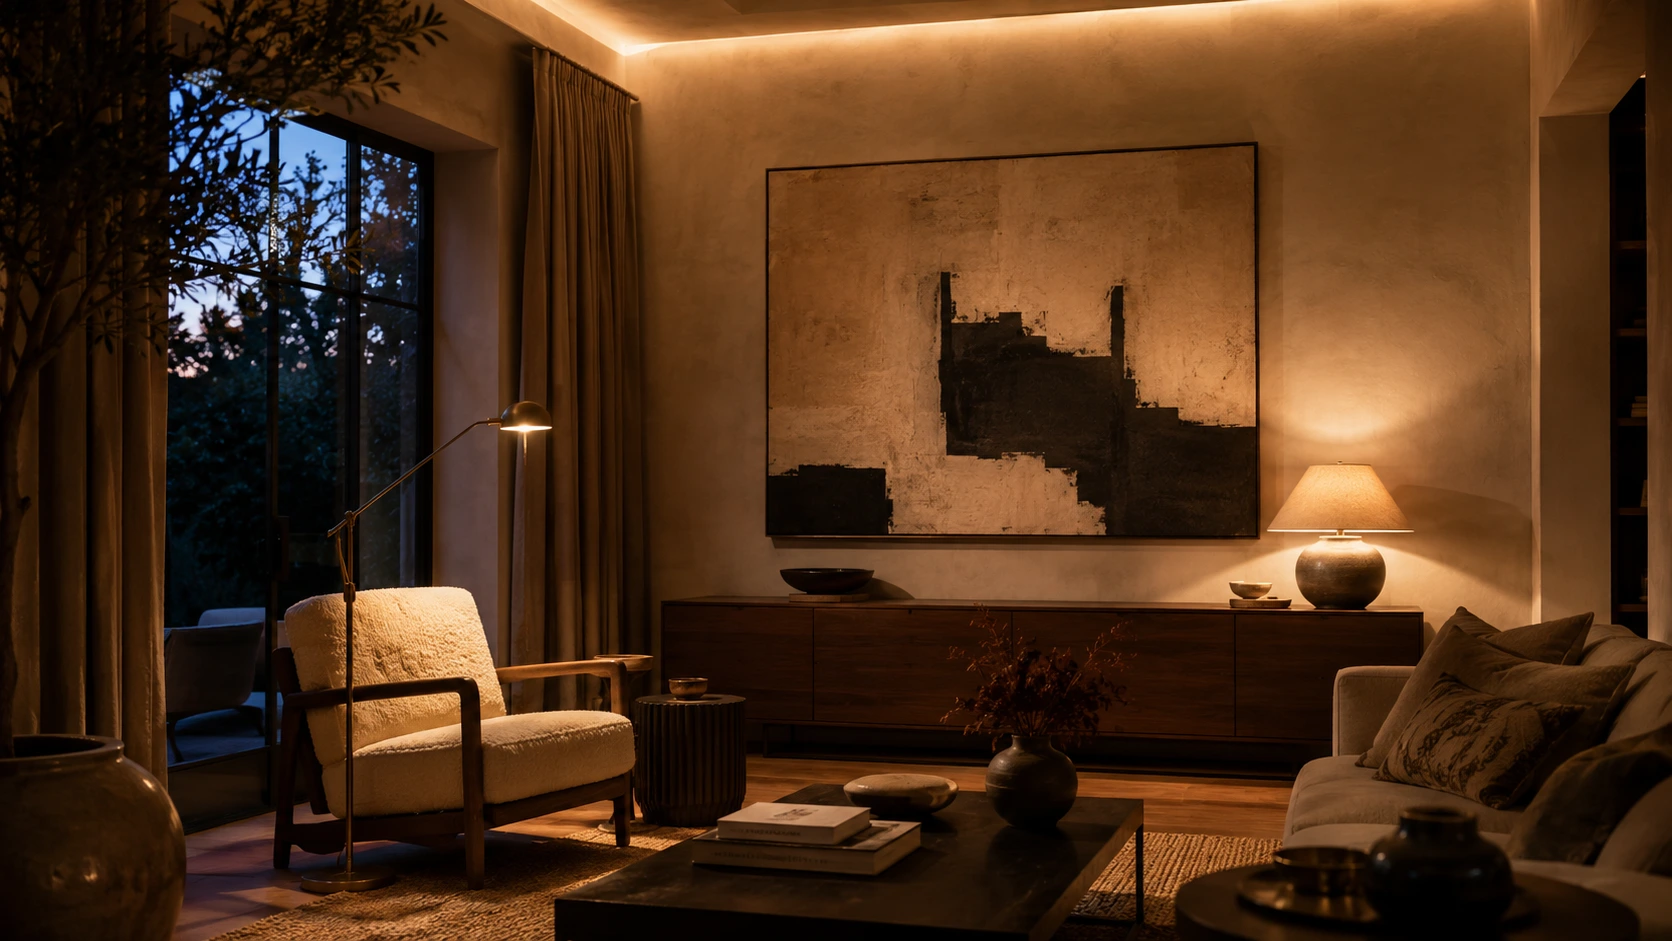
The universal gallery standard for hanging wall art is 57 to 60 inches (145 to 152 cm) from the finished floor to the vertical center point of the artwork or gallery cluster. This aligns with standard human eye-level.
When hanging art directly above a sofa, console, or headboard, suspend the bottom edge of the frame 6 to 8 inches (15 to 20 cm) above the top of the furniture, and ensure the artwork width spans approximately 60% to 75% of the furniture piece's total width.
To calculate optimal seating distance for high-definition 4K displays:
65 × 1.3 = 84.5 inches (approximately 7 to 8 feet from sofa to screen).Never mount drapery rods directly on the window casing. To make ceilings look 12 inches taller and maximize incoming daylight:
Window curtains must never "high-water" 2 inches above the floor. Designers specify one of two exact hem finishes:
Relying on a solitary center ceiling flush-mount (the dreaded "big light") creates flat shadows and visual exhaustion. Designers engineer a room with three distinct lighting tiers totaling 150 to 300 lux of ambient illuminance:
In the bedroom, preserve a minimum of 24 to 30 inches (61 to 76 cm) of open walking clearance on both sides of the bed and at the foot of the bed. Nightstands should measure within 2 inches of the top surface of your mattress, allowing you to reach an alarm clock or glass of water without awkward twisting.
| # | Architectural / Furniture Element | Professional Designer Standard | Common Amateur Blunder | Ergonomic Consequence |
|---|---|---|---|---|
| 1 | Main Walkway Clearance | 36" – 42" (91–107 cm) | < 28" walkway | Bottlenecks; bruises from corners |
| 2 | Sofa to Coffee Table | 14" – 18" (35–45 cm) | > 22" or < 12" | Shin collisions or awkward leaning reach |
| 3 | Side Table Height | ±1" – 2" of sofa arm | 6"+ below arm | Drinks knocked over; unnatural reach |
| 4 | Coffee Table Height | 1" – 2" below sofa seat | Taller than seat | Cluttered sightlines; awkward ergonomics |
| 5 | Rug Floor Perimeter Reveal | 12" – 18" border margin | 3" or 36" (postage stamp) | Room looks shrunken and fragmented |
| 6 | Dining Chair Clearance | 36" – 48" from wall | < 24" to wall | Trapped diners unable to exit chairs |
| 7 | Dining Chandelier Drop | 30" – 36" above tabletop | 20" or 48"+ | Blinding eye glare or head collisions |
| 8 | Wall Art Centerline | 57" – 60" from floor | 68"+ (hung sky-high) | Neck strain; disconnected from furnishings |
| 9 | TV Viewing Distance | 1.2× – 1.4× screen size | 14 ft for 55" screen | Eye strain and poor field of view |
| 10 | Curtain Rod Placement | 4" – 6" above window frame | Mounted on window casing | Stunts ceiling height; blocks natural light |
| 11 | Curtain Hem Length | 0.5" float or 1" break | 2" – 4" high-water gap | Looks amateur and poorly tailored |
| 12 | Lighting Color Temp | 2700K (Warm White, 90+ CRI) | 4000K – 5000K cool blue | Clinical, hospital-like atmosphere |
| 13 | Bedside Walk Clearance | 24" – 30" perimeter | < 18" to wall/wardrobe | Squeezing sideways to make the bed |
If you choose to hire licensed trade professionals instead of taking a DIY approach, budget according to realistic 2026 contractor and trade rates. Below is a realistic cost breakdown for a standard 300-sq-ft living or dining room transformation:
| Project Phase / Trade Scope | Typical Professional Rate | Average Cost per Room | What You Get for the Money |
|---|---|---|---|
| 1. Space Planning & Design Fee | $150 – $350 / hour | $2,500 – $7,500 | 2D CAD floor plans, 3D renderings, material specification, furniture schedules |
| 2. Electrical Rough-in & Lighting | $85 – $150 / hour | $1,200 – $3,800 | Adding recessed ceiling cans, installing 2700K dimmer circuits, hardwiring wall sconces |
| 3. Professional Painting & Prep | $2.50 – $6.00 / sq ft | $1,100 – $2,600 | Drywall skimming, caulking trim, two coats premium low-VOC matte paint (walls, ceiling, trim) |
| 4. Custom Window Treatments | $120 – $350 / panel | $1,800 – $4,500 | Custom-measured pleated French linen drapes, heavy blackout lining, custom brass rod installation |
| 5. Flooring / Rug Installation | $4 – $12 / sq ft | $600 – $2,200 | Moving furniture, laying non-slip acoustic felt rug pad, precision trimming and seam taping |
| 6. Art Mounting & Precision Millwork | $75 – $125 / hour | $350 – $1,200 | Heavy wall anchor installation, laser-leveled art grouping, floating credenza anchoring |
| Total Professional Trade Overhead | — | $7,550 – $21,800 | Full turnkey execution with zero DIY manual labor (excluding furniture purchases) |
Before spending a single dollar on new furniture or hiring contractors, professional designers perform physical floor and wall mockups using standard 1.5-inch blue painter's tape.
Step-by-Step Blue Tape Validation:
1. Clear the room completely of all loose decor.
2. Outline the exact footprint of your proposed sofa, coffee table, and armchairs on the floor.
3. Outline the outer border of your proposed rug size.
4. Walk your daily pathways: Carry a laundry basket or laundry tray through the taped walkways.
5. Open all cabinet doors, drawers, and entry doors fully to ensure they do not strike the taped boundaries.
6. Tape out the TV and art dimensions on the walls at the 57"-60" centerline mark.
If your shins brush against the tape while walking to the kitchen, or if an armchair prevents an entry door from swinging open 90 degrees, adjust the dimensions on paper immediately. Correcting a line of blue painter's tape costs $0; returning an oversized sectional couch incurs a 20% restocking fee and $300 in return freight.
Written by
Sarah BigelowLead Designer & Founder, Bigelow Designs
Lead Designer & Founder, Bigelow Designs; 15+ years in residential space planning and interior architecture.
Keep reading
Hallway ideas require 36 inches of clear walking width and 100 to 150 lux. Learn exact clearance math, runner margins, and shallow storage sizing.
9 min read
Explore practical home decor ideas for every room and budget, with clear tips on layout, lighting, color, safety and renter-friendly updates.
9 min read
Refresh your home for fall with 15 practical décor ideas using color, texture, lighting, natural accents and pieces you can reuse every year.
6 min read
The Insider Circle
Craving more interior inspiration? Watch our exclusive behind-the-scenes room tours on TikTok and join our Facebook community for daily design secrets.
Join the conversation
Thoughts, questions, or your own experience with this piece? Sign in with your Facebook profile to reply.

